Woocommerce
date: "2023-07-15" Author: "Valentina Djordjevic"
This is a five-step guide on integrating your WooCommerce website with Solver AI Suite that will allow you to use all of the SAIS functionality and with it increase your sales potential and offer a personalized experience for your customers.
Note: Before starting it is essential to have your environment provisioned by Things Solver.
Step 1. Go to your website domain in your favorite browser. Example:
https://example-of-your-website.com
Add /wp-admin suffix at the end of your domain so that it looks like the example below and hit enter/return on your keyboard.
https://example-of-your-website.com/wp-admin

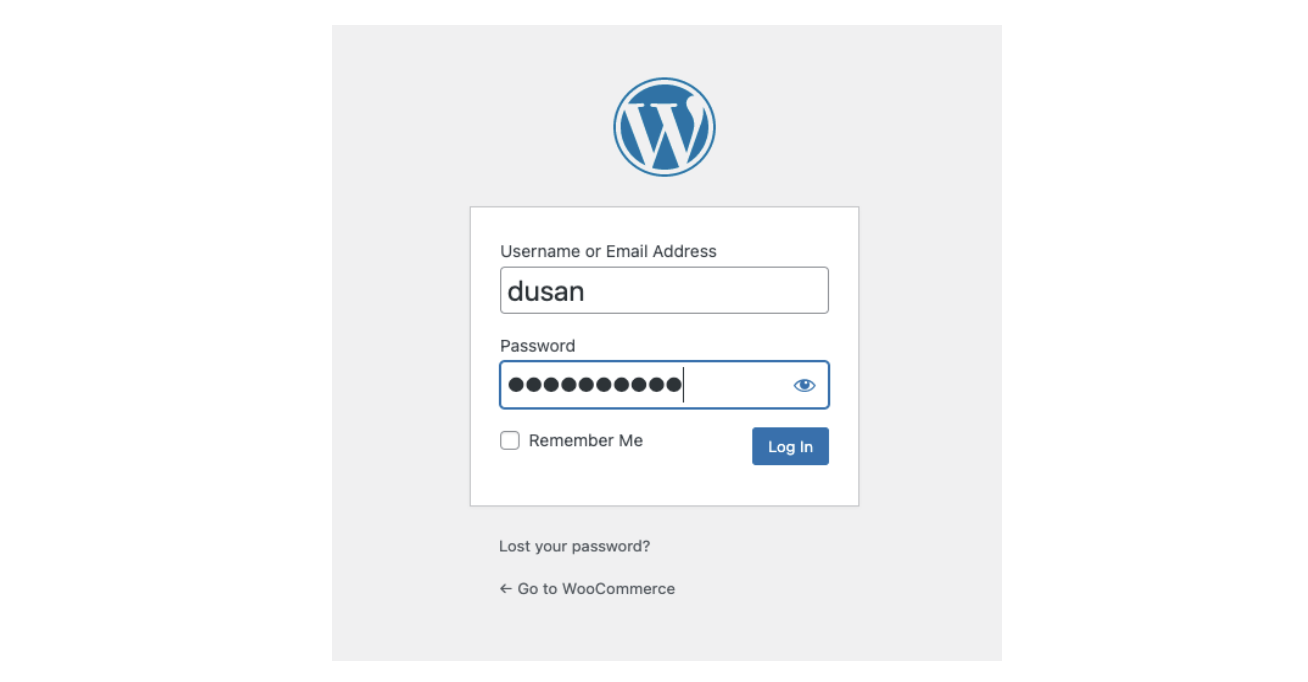
Step 2. After a login page of the WooCommerce dashboard opens, input your username and password, and click on Log in button:
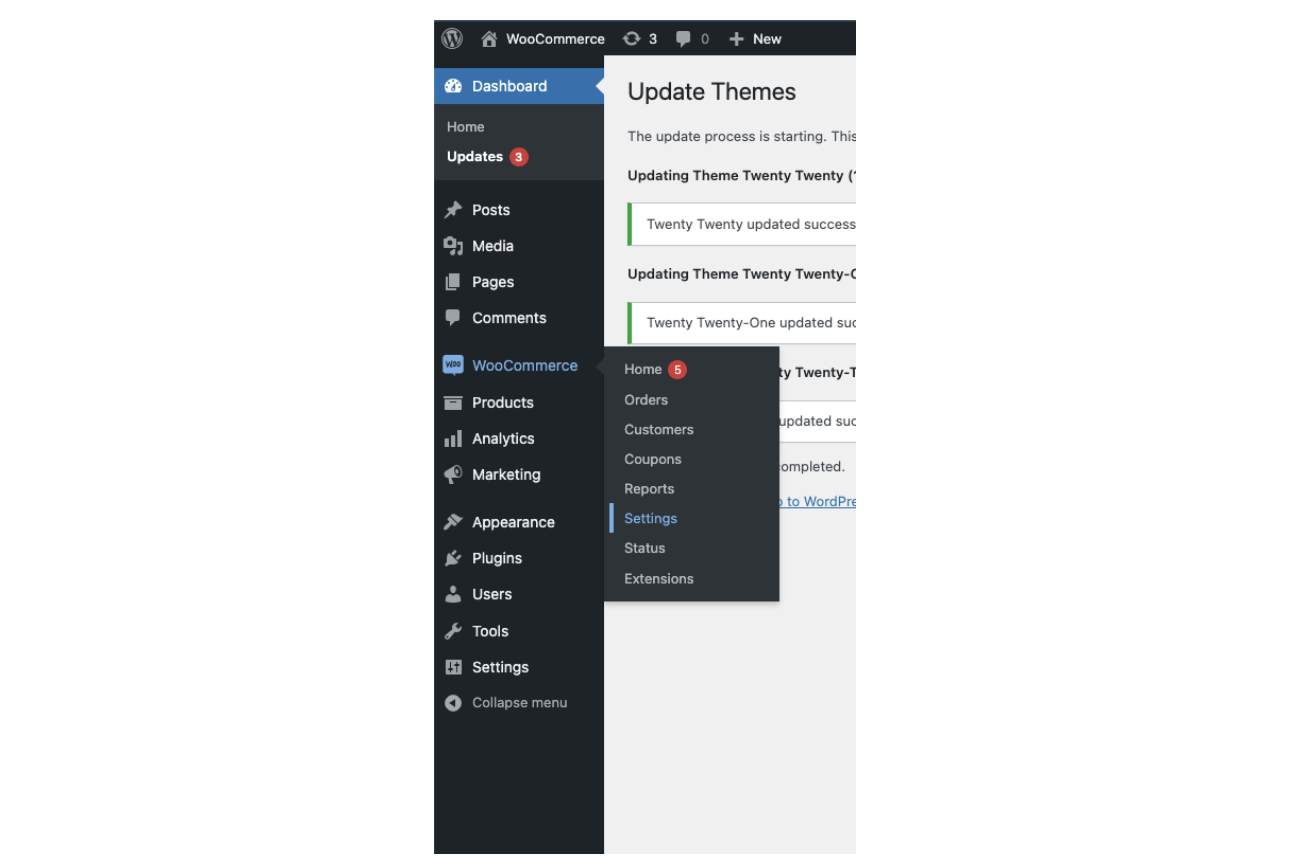
Step 3. On the left side section of the dashboard click on the WooCommerce tab and on the Settings submenu button. WooCommerce->Settings
Step 4. On the settings page select the Advanced tab and click on the REST API link on the left side.
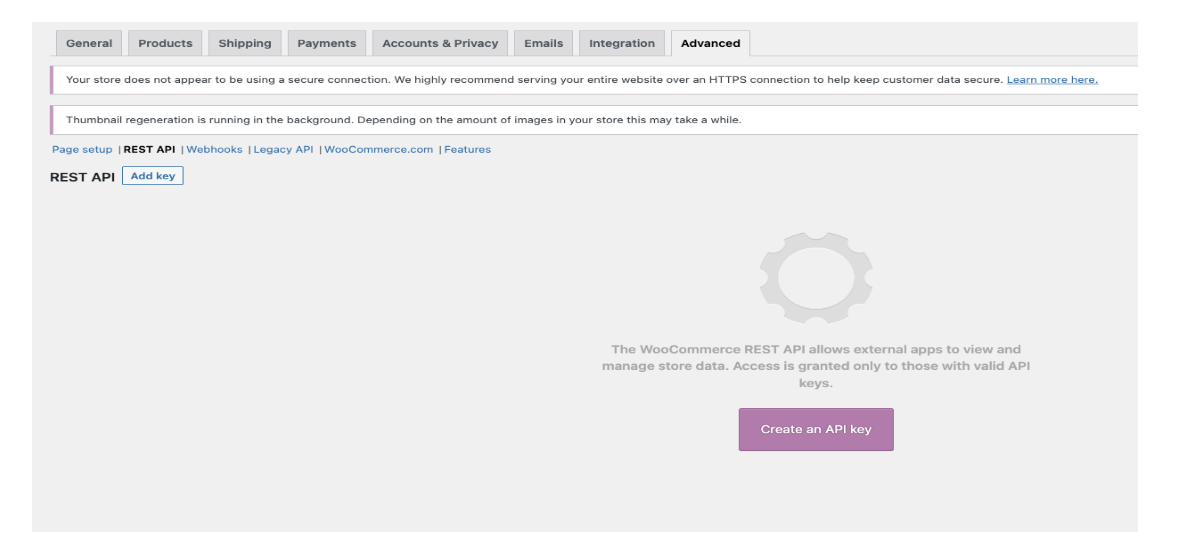
After the page loads, click on the Create an API key button in the center of the page. Add a description that will help you remember the key that will be generated, and select a user that will be used for pulling the data of the API, that can be your user. The last drop-down named Permissions should be set to read so that SAIS will only read the data from your website.

After clicking the Generate API key button, you will be presented with a Customer key and Customer secret that are used to integrate your website with Solver AI Suite.
Step 5. Send the keys to your Things Solver contact and access to your SAIS instance will be sent to you within a few hours.
